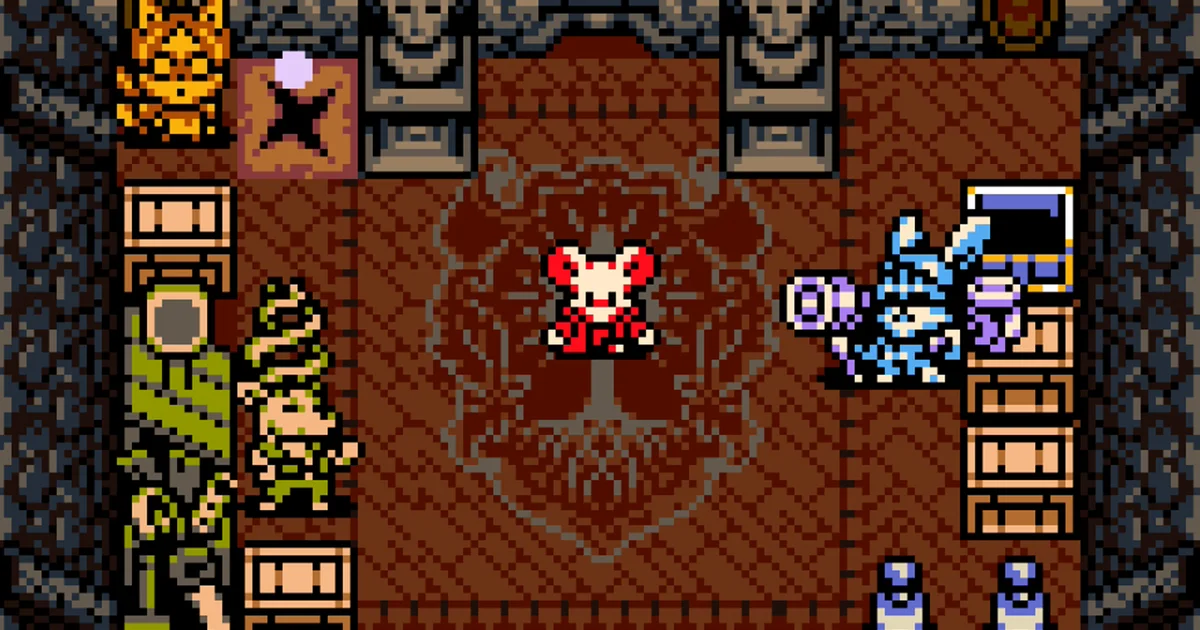
Putting the Isle Map in your Underlab will help you remember which parts of Mina the Hollower you’ve already explored, plus which Spark Generators you’ve fixed. That’s especially useful when you consider how expansive Tenebrous Isle is. Still, before you can get your hands on the map, you’ll need to set up the Hollower’s Guild in Ossex first. The time you invest pays off, because after that—along with the Isle Map—you’ll also be able to pick up other useful upgrades. With that in mind, here’s how to establish the Hollower’s Guild in Mina the Hollower.
How to establish the Hollower’s Guild: Locating the map
If you want to add a map to your Underlab in Mina the Hollower, your first move is to establish the Hollower’s Guild, which comes after finishing a short side mission. The good news is that the mission unlocks right after you first meet Lionel in Ossex.
1. Access the Hollower’s Guild.
Start by reaching the Hollower’s Guild itself. This part is surprisingly simple. As mentioned earlier, the guild sits directly below the Emporium. To get there, follow the street above the guild until you spot a narrow alley just before the stairs that lead down to the garden.
Next, vault over the barrels and shatter the crates until you find the entry to the Hollower’s Guild and a bit of breakable wood. Destroy that wood to open your way inside, then continue through. Once you burrow through the back wall, you’ll reach the next chamber and meet Muriel. She’ll tell you Thorne’s crew has taken over the guild, and that both Rhene and Drillhardt are missing. Your next task is to track them down. Before you leave, I strongly recommend making sure you have all of your Plasma Vials.

2. Get a Kear.
Before you start searching for Rhene, you’ll first need to obtain a Kear. If you haven’t come across them yet, Kears are the keys that open specific gates across Tenebrous Isle. If you have an extra Kear or two by now, you should be able to head straight to finding Rhene.
If you’re short on a Kear, don’t worry—one is located inside the Hollower’s Guild. Another can be found by looking at the orange planet through the telescope in the north-eastern corner of Ossex. You will need a Kear to access the telescope, though, so if you used one earlier, this might be where you spent it. (That’s exactly what happened to me.)
3. Find the Rebel Barracks.
To reach Rhene, leave Ossex through its southern exit. This takes you to the Southern Outskirts: Common, which should look familiar. Head back the way you came by traveling south until you reach the moving platforms you used to reach Ossex earlier. From there, keep going south until you come to a staircase on your left.
When you reach the top, you’ll see a Kear lock. Use your Kear here, then defeat the enemies around it. After that, you can safely press the nearby button to open the second gate, giving you entry to the Rebel Barracks—entering requires one Plasma Vial.
4. Free Rhene from the Rebel Barracks.
The first room in the Rebel Barracks has four enemies, so I recommend taking them out right away. Once that’s done, press the button on the left. If you’d like to check on Rhene and grab a few extra bones, enter the room to your left and press the button—this lets you speak with Rhene through the bars.
To actually free Rhene, go up the stairs from the previous chamber. From here, you’ll want to combine burrowing with dodging to get around the rotating balls. You’ll also need to move across some moving platforms to reach Rhene’s room. When you arrive, defeat the guards and jump over the gap to reach Rhene’s cell. However, before she can leave, you’ll have to use a Plasma Vial to heal her. Now it’s time to escape the barracks with Rhene following.
💡 Lottie’s Pro Tip
Although Rhene doesn’t take part in the fight right beside you, she still contributes in a practical way through her cleaning. From time to time, Rhene will sweep the floor—and when she does, an item appears. At one moment it may be nothing more than random debris, but at other times you could uncover something useful, like a Plasma Vial! If your resources are running low, it’s well worth pausing and letting Rhene continue cleaning until she turns up the items you need.
Just stay alert during combat, because Rhene can grab bombs as well. While they can wipe out an enemy with ease, being caught in the blast will hurt you.
To make your way out of the Barracks, start by performing a barrel jump to the far side of Rhene’s cell and then hit the button. Next, head back to Rhene and leap over the smaller gap before climbing the stairs! Remember: Rhene can’t burrow, and she can only jump across a single block. If you end up separated, you’ll have to go back and retrieve her.
In the next space, you’ll need to dodge more rotating spheres, clear out enemies, and press buttons to open the gates. You’ll also have to leave Rhene behind at certain moments, so be sure to return for her every time. Watch the lower sections of the fence lines too—those openings let you burrow through in order to reach the buttons.
You’ll press four buttons in total, and two of them are positioned quite close together. Here’s a quick guide to where they are:
- One – Head to the far right-hand side of the entrance stairs, burrow through the tunnel, and press the button.
- Two and Three – Go through the tunnel directly south of the first button. Jump between the platforms, avoid the spinning spheres, defeat the enemy, and then press both buttons.
- Four – Return to the middle of the room, then burrow-jump onto the platform at the far left. Keep clear of the rotating spheres as best you can, then follow the platforms to reach the final button.
Once you reach the stairs, continue downward and eliminate every enemy in this area. To leave, you must smash the crates around the button first, then jump over to press it. Afterward, head up the stairs to finally get out of the barracks. Rhene will then thank you for the trip to the Hollower’s Guild.
5. Return to the Hollower’s Guild.
With Rhene freed, the next step is to head back to the Hollower’s Guild. When you arrive, Rhene and Muriel will quickly get everything back into working order, restoring the guild to full function. Still, Drillhardt remains unaccounted for…
6. Locate Drillhardt.
Tracking down Drillhardt is much simpler than finding Rhene, because he hasn’t actually left the guild. If you look at the lower-left corner, you should spot something that looks like a cluster of vines beside a crate—that’s Drillhardt. Remove those vines however you like, and Drillhardt will be freed.
Drillhardt runs a shop where you can grab upgrades for the Underlab, while Rhene offers other customization options for it (Underlab skins, if you will). I recommend spending your Bones on Drillhardt’s wares first, since they tend to be far more impactful than what Rhene provides.
The first thing to buy is the Isle Map for 500 Bones. It will reveal every area you’ve explored so far, and after you repair a Spark Generator, that section will light up on the map. Even though the map can’t be brought outside the Underlab, it’s still a great in-game checklist for where you’ve gone and what you’ve completed.
After you fix three Spark Generators, you can purchase a stronger version of the map for another 500 Bones from Drillhardt. This upgraded map includes a checklist listing every collectible in each area where you’ve repaired a Spark Generator (though some locations may need more than one generator repaired before their checklist appears).
Have fun improving your Underlab! If you want more help with the Tenebrous Isle, take a look at the Mina the Hollower dungeon order and best weapons.