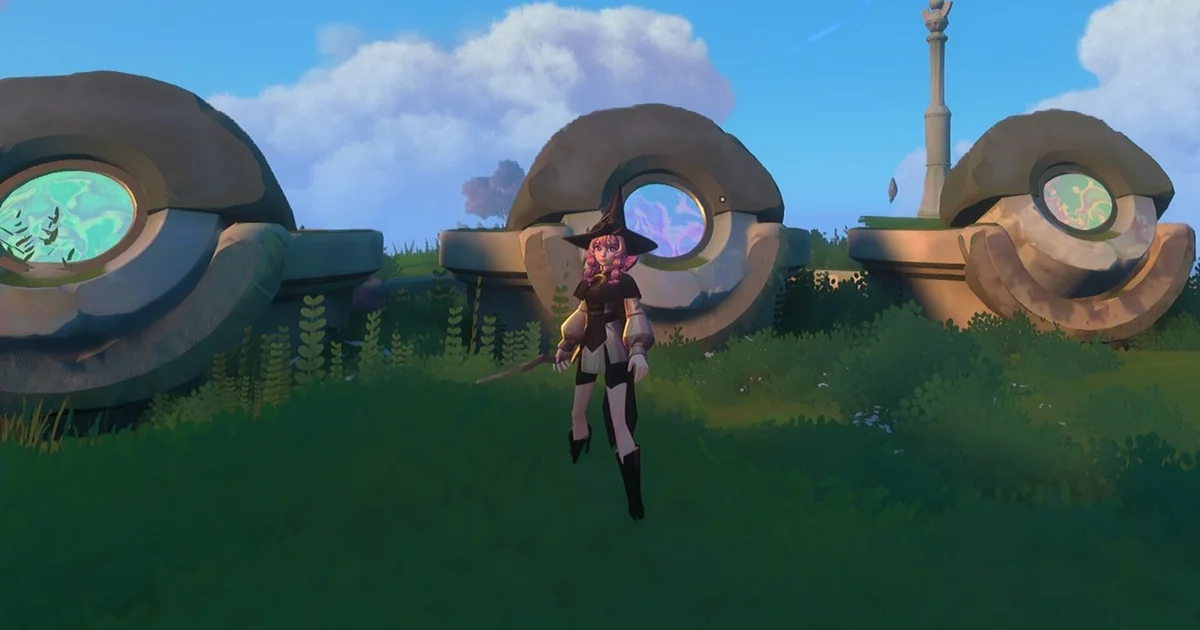
As you get close to the Isle Bridge in Witchspire, you’ll be handed the Level 17 Main Quest, Activate the Bridge. For this mission, you need to track down and trigger three separate roots. While these twisted vines blanket the area, it’s surprisingly easy to feel turned around and forget where you were heading. That’s exactly why this guide is here.
Below, you’ll find how to activate the bridge in Witchspire, plus the exact spots for each of the three roots.
How to activate the bridge in Witchspire
If you’ve just started the Activate the Bridge Main Quest in Witchspire, you’ll need to activate three different roots somewhere across the region. The good news is that the first one is nearby, but finding the rest can still be tricky once you begin searching.
Take a look below for where all three roots are located and what you need to do to activate each one.
Activate the First Root
Starting at the Isle Bridge, right where you see three colored pedestals, walk to the end of the bridge and look down along your left side.

You’ll see the first root right down there. On the small island immediately beyond it, you’ll find the first pedestal you must activate. Hop on your Broom and land on it, but keep an eye out for the Al’uunian Vanguards nearby.
Just remember: to activate these roots, you must follow them until you reach the matching pedestal. Don’t step away beforehand, or the root won’t activate.
Activate the Second Root
Once the first root is active, continue across the bridge where the Al’uunian Vanguards are located, then head through the cave packed with Taileaf.
When you come out the other side, you should spot additional roots that begin to pulse with a green glow. Your task is to track them until you reach the second root, and then continue on to the third. It’s very easy to lose your bearings here, since the roots often loop you back toward the Isle Bridge—so this guide tells you exactly where to go next.
The second root lies far to the south of the Isle Bridge, and it’s marked on the map below. It’s positioned on top of a purple-toned island that you’ll need to climb up to, so it’s a good idea to activate two double-jumps before attempting it. Alternatively, you can grab some wood and build a staircase to reach the spot.
Another helpful approach is to open your map and find purple islands that have grey circles next to them. There are three in this area—those markers point to the roots you need to activate. If you’re getting stuck, keep exploring to reveal additional sections of the map.
Activate the Third Root
The third root is back at the region’s entrance, in the far eastern section of Mira Isle, which is also called Eastell. I’ve marked its position on the map below:
To get there, you’ll need to move through R’hyrrgar’s Stronghold and pass R’hyrrgar himself. Reaching this root takes a little parkour, but the Froblins that live here have thoughtfully added stairs and platforms to help you reach the top.
Once you’re at the top, step onto the pedestal—and that completes activation for all three roots!
Continue your adventure
If you return to the Isle Bridge now, a spectral bridge should appear for you to use.
Before you cross the bridge and move the story forward, I strongly recommend making sure you’ve collected 4 of the 5 Orbs for the Mira Isles Flight Pillar. If you don’t, your progress may feel restricted.
After crossing, head toward the ruins ahead. You should find a tower with a prismatic piece of glass underneath it—this functions as an elevator. Wait for it to arrive, then ride it to reach the ruins.
From there, you’ll find the final Orb for the area’s Flight Pillar, plus two Nox Pillars that you can activate with a Familiar—this will reward you with a chest. You’ll also come across another bridge that leads to your next goal and keeps your adventure going in the Shuddersands region. Have fun!
Good luck activating all three roots and restoring the Isle Bridge in Witchspire. For more help, check out my tips and tricks, all Familiar locations, and how to obtain Fine Wood.