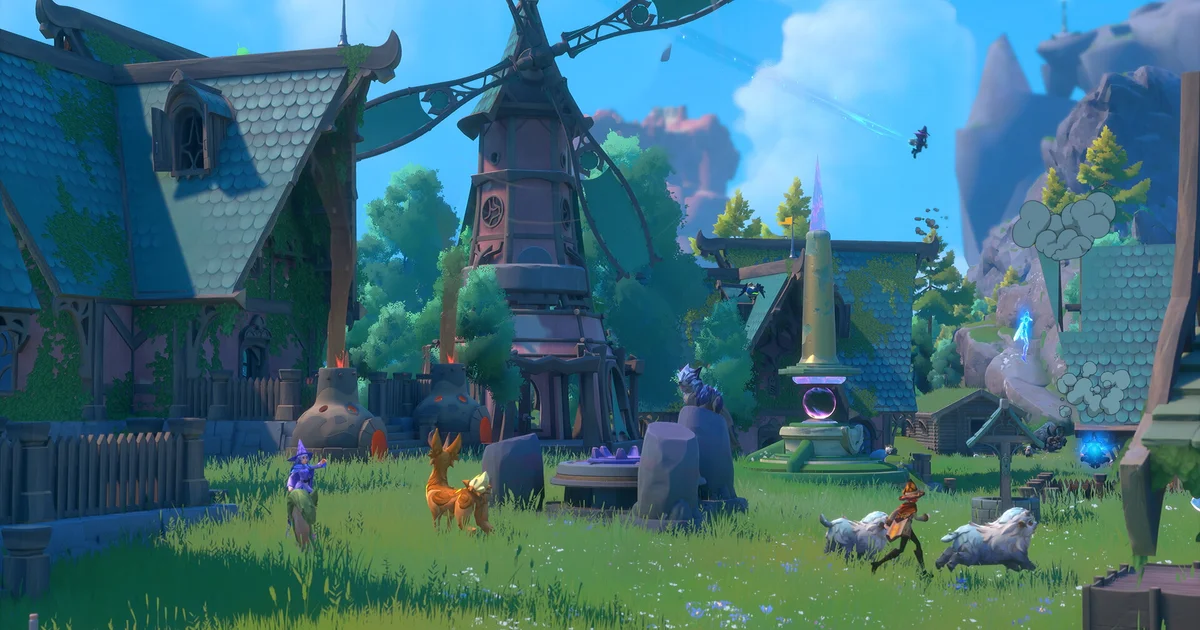
The Witchspire tips and strategies below are meant to help you step into your broad, magical adventure in this open-world experience—while also getting the most out of your powers. When you’re not sailing through the skies or tracking down and collecting different creatures, there’s plenty to do in this survival-crafting game, and the guidance here is set up to address the questions you might have.
In the section below, I’ve gathered Witchspire tips, strategies, and guides I picked up as I worked my way through the game.
On this page:
Witchspire Tips and Strategies
Witchspire doesn’t walk you through every step as you play, so you can move through this enchanted world at your own rhythm, even when you’re teaming up with friends. That said, figuring out where to start and what to focus on during your runs can feel a little confusing at first.
Sure, the Main Quest is there for you to follow, but you can—and should—also tackle many other goals at the same time. Below, I’ve put together a set of tips and strategies to help you get rolling and, over time, make your Witchspire experience even better.
1. You can change the difficulty.
Despite what you may see people claim online, there’s absolutely nothing wrong with adjusting Witchspire’s difficulty to match how you like to play. When you set up your first world or come back to an existing one, you’ll be able to revise your difficulty options.
That includes the ability to reduce the damage you take from opponents, an EXP multiplier for both you and your Familiar, and even changing the likelihood that spirits will show up (so you can meet more new Familiars) or boosting the loot enemies drop.
If you want a calmer, storybook-style adventure, consider lowering enemy damage and raising your EXP multiplier or loot. On the other hand, if you’re chasing a tougher challenge, let your enemies hit harder while scaling back your EXP gains! You can also use these settings to adjust EXP Share in your world when you’re traveling with friends.

2. Gather everything you can.
Witchspire is, without question, a survival-crafting game—so it shouldn’t be surprising that I’m encouraging you to pick up everything. Still, you really should. When you’re just getting started, grab every flower and stick you see. Likewise, make sure you defeat every hostile creature you run into.
For your early upgrades in Witchspire, you’ll need a healthy supply of wood and Spirit Dust, along with other materials like Froblin Goo and Cinderblooms. Luckily, the story sends you toward areas packed with these resources—you just have to take the time to collect a lot of them.
It’s also smart to keep track of where you found each resource, since the map—at the time of writing—doesn’t offer much detail. For example, Froblin Goo comes from defeating Froblins at Froblin Camps, while Chirili Tufts drop from Chirilis you defeat in Chirili Crater. Once you visit, those locations will appear on your map, but you’ll need to remember which resources are available there.
3. Stock up on healing items.
To gain levels and collect the Spirit Dust you’ll need for different improvements in Witchspire, you’ll be spending a lot of time fighting hostile creatures—and eventually bosses. With that in mind, it’s a good idea to fill your hotbar with healing items as soon as you can, especially because it’s not too difficult to do.
As you go out collecting everything mentioned earlier, make sure you gather plenty of green Verdantblooms. At a Workbench, you can convert them into Verdantbloom Petals, which you can then use for steady healing during fights or while exploring. A healing potion may be stronger, but Verdantbloom Petals can be produced in bulk, so having a good stash is very worthwhile.
4. Focus on upgrading your Hearth.
When you first start Witchspire, you’ll get a Hearth and can set up your first base. Your Hearth acts as the center of that base, and from there you can place multiple Hearths around the map and use them as fast travel hubs. Still, if you want access to better upgrades and gear, you’ll need to upgrade your main Hearth as quickly as possible.
Whenever you’re not doing quests from the main story, I suggest spending that time collecting materials that will help strengthen your Hearth. The more you upgrade it, the more recipes and abilities you’ll unlock in the Luminaries Skill Tree—and you’ll also need an upgraded Hearth to unlock a Broom and start flying around the map.
5. Look around for every question mark (?) on the map.
If you’re not currently on a quest, or busy gathering resources to improve your Hearth, take a moment to investigate each question mark shown on your map. These symbols point to spots with interesting points of interest (POIs), and you’ll often discover activities that can boost your inventory with loot or give you strong EXP for both you and your familiars.
For example, several POIs are home to Froblin Camps. Wiping out the Froblins there can reward you with a lot of EXP and Froblin Goo (needed for Hearth upgrades and crafting), and—if luck is on your side—you may also find chests holding valuable items like potions, scrolls, or armor.
Similarly, the Rockling Breeding Grounds POI is packed with Rockling creatures. You’ll collect Clay there, and you can keep harvesting Rocklings until you unlock one—or even more—of them as a Familiar.
6. After a specific Familiar? Use Incense.
Creature collecting is a core part of Witchspire, and many of the delightful beings you defeat as you move around the map can be obtained and added to your roster of Familiars—if luck is on your side.
At the start, you’ll only have the option to keep one Familiar you choose, but from there, getting additional Familiars means tracking down and defeating each creature you come across, then hoping that one of their spirits sticks around long enough for you to capture. If you want a better shot at a spirit lingering, apply Incense before you go on the hunt, since it improves your odds of obtaining a new Familiar.
Incense is often found in chests or awarded for defeating bosses, though you can also craft it at a Witchcraft Circle in your base.
7. Turn on the Flight Pillar as soon as you enter a new region.
Once you’ve unlocked a Broom in Witchspire, I recommend prioritizing the activation of the Flight Pillar in every new region you visit. You’ll need to move around the map and pick up Orbs, and each subregion has its own Orb requirement to get the Flight Pillar working there.
Your map makes it easy to spot a Flight Pillar for each area, and these tall landmarks are hard to miss. When you’re looking for the Orbs needed to activate one, head to that area’s Flight Pillar and follow the blue, ghostly strands streaming out from it—this will guide you to the Orbs you’re after.
Gathering everything yourself can feel a bit tiring, especially when some of the items are tucked away in awkward spots, but it’s absolutely worth it. Once you can fly through an area, you can collect resources and farm Familiars far more efficiently.
8. Build to help you reach tougher areas
Speaking of hard-to-access spots—did you know you can build almost anywhere in Witchspire? With that in mind, you can create stairs and platforms to reach objectives or points of interest that your Broom or Spirit Jumps can’t get you to.
For example, suppose you haven’t activated the Flight Pillar in the Timberline Basin yet. That region is packed with elevated islands you can explore, and some of them may hold Flight Pillar Orbs, objectives, or resources you still need. Instead of trying to brute-force your way up to a cliff edge you can’t reach, you can simply construct a staircase to go straight up.
This doesn’t apply to areas that are tied directly to the Main Quest. For instance, at one point in the story, you’ll have to activate the Isle Bridge to unlock access to a new area. In that situation, you can’t build your own makeshift Isle Bridge, and you’ll still need to finish the Main Quest, but building can be extremely helpful in many other places.
Witchspire guides
Systems and Mechanics:
Quests:
Resources:
Familiars:
Good luck making the most of your time in Witchspire!